Windows has always been a great environment for multitasking, with the ability to run multiple applications at once and to switch between them with relative ease.
In Windows 10, Microsoft tightened up the snapping mechanism and expanded its functionality. Today, the latest version of Windows 10 offers a number of ways to split your screen into multiple windows and get real work done, with better support for higher resolution displays and multiple monitors.
One of Windows 10’s most important contributions to split-screen multitasking is Snap Assist, which makes it easier to select an open application window when you are choosing which applications to arrange on your screen. Here’s how to use it:
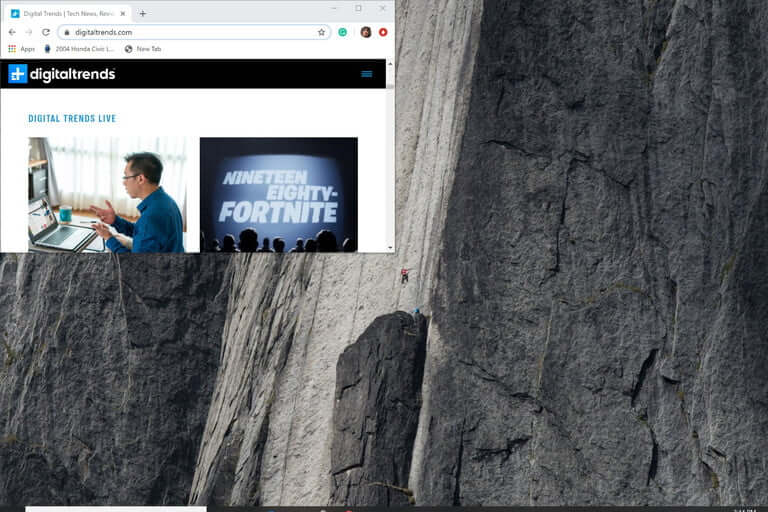
Step 1: Choose the window you want to snap to one half of the screen, then drag it to the edge.
Step 2: A translucent outline of where it will snap to will appear. If you’re happy with it, let go and your window will be snapped into place. Alternatively, press the Windows key and the left or right arrow key to snap the last selected window to one side of the screen.
Step 3: If you have other windows or applications open, when you snap your chosen window you’ll be presented with a number of options for what to fill the other half of the screen with. Click on one, and it will automatically snap into place opposite the other window.
Once you’ve placed your windows, you can easily resize them by dragging the divider. There’s a limit to how thin a window can be, though, to help you avoid creating windows that are so small that they’re useless.
Want a faster way to do this on your keyboard? There is a shortcut to split windows that’s really useful once you get used to the process: Press down the Windows logo key while in an active window, and then press either the left or right arrow key. This should automatically assign a side of the screen and split the window over there. Do the same for a new window, and you have a split-screen set up in no time!

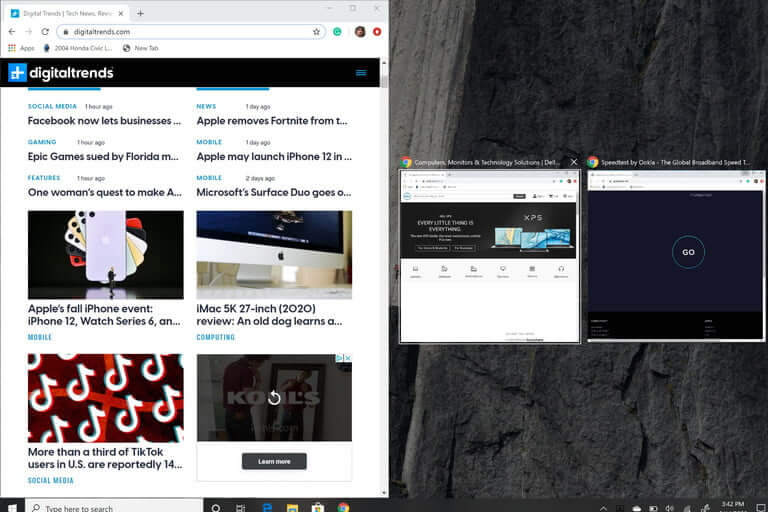
If you have a large, or high-resolution display, you can take advantage of all of that extra screen real estate by snapping more than two windows. Corner Snap, as it’s known, lets you snap into place as many as four different windows.
Step 1: Drag and drop your first window into the corner you want to snap it to. Alternatively, press the Windows key and left or right arrow, followed by the up or down arrow.
Step 2: Do the same with a second window on the same side and you will have two snapped into place. Corner Snap is then activated, and much like when snapping just one window, you’ll be given the option to fill the empty space with a third.
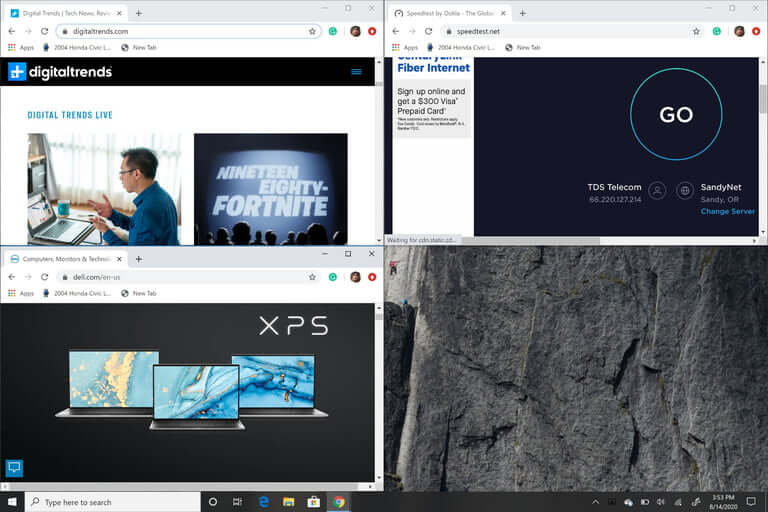
Step 3: To bring the fourth window into play, drag the third window into the corner, and then select another application from Snap Assist to complete your four-window setup.
Note that a 2020 update to Windows 10 updated this four-window design and made all the snapped windows act as a single window. This may not sound important, but it’s really handy when you have to do something else, like open an additional app or file while working with your snapped windows — they will now stay together, waiting for you to get back.
If Snap Assist is getting in your way, then you can turn it off easily enough.
Step 1: Search for Settings in the Windows search bar. Click the corresponding entry.
Step 2: Select the System icon, then click Multitasking from the left-hand menu.
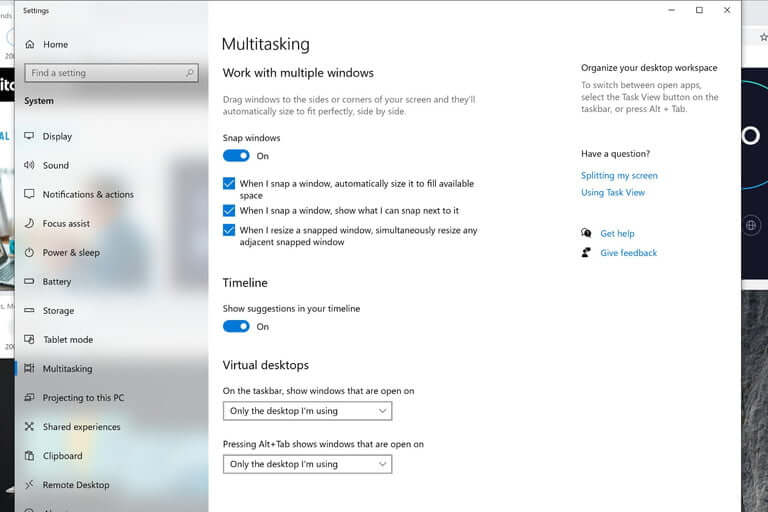
Step 3: The quickest way to turn off Snap Assist is to just click on the toggle button under Snap windows until it’s in the Off position. If you don’t want to turn Snap Assist completely off but you don’t want some of its features to be enabled, you can keep the Snap windows toggle button in the On position and then un-tick the boxes next to one or more of the following options:
Are you looking for something a bit more customizable for complex projects? There are third-party apps that allow for more specific, grid-like changes to your windows so you can get all your favorite tools exactly where you want them, and at the right size. The native Windows 10 option is great, but if you want a bit more we suggest taking a look at AquaSnap.
AquaSnap allows you to create and adjust as many split windows as you need with a snap function that works similarly to the Windows version, but is a bit more flexible and includes a few neat, additional tools like snapping small windows together and other tricks. AquaSnap is generally free to download and use, though there are premium versions of it. The free tier will still offer many of the same features as the premium Professional version including window docking, window snapping, window stretching, and making windows transparent, just to name a few.
IBIK Ltd
All Rights Reserved
